Roof tent heating.
In my car, the webasto is mounted under the rear seat. While driving, I have the pipe led to the front, while parked, I attach it to the window plug and then distribute the heat from the tee with two pipes to each side of the roof tent. This ensures even heating of the interior at very low temperatures and provides the possibility of individual adjustment on each side.
In order for the system to work, a few items are required in addition to the parking heater.
po prawej stronie znajduje się jeden z dwóch wylotów 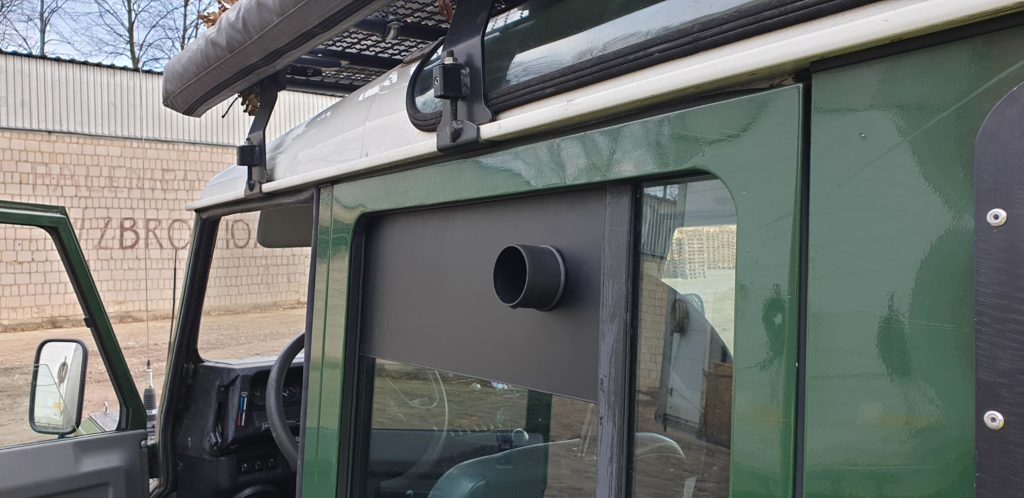
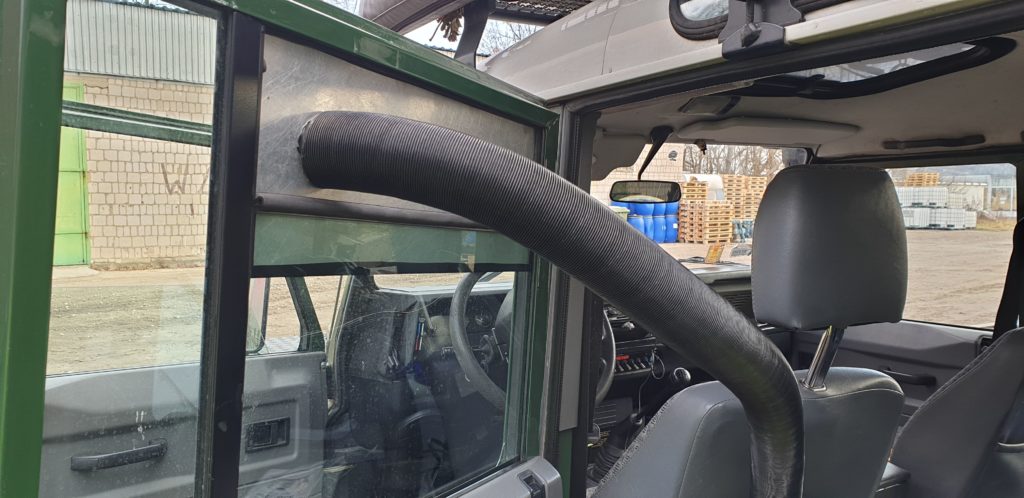
rura powinna umożliwić otwarcie drzwi. 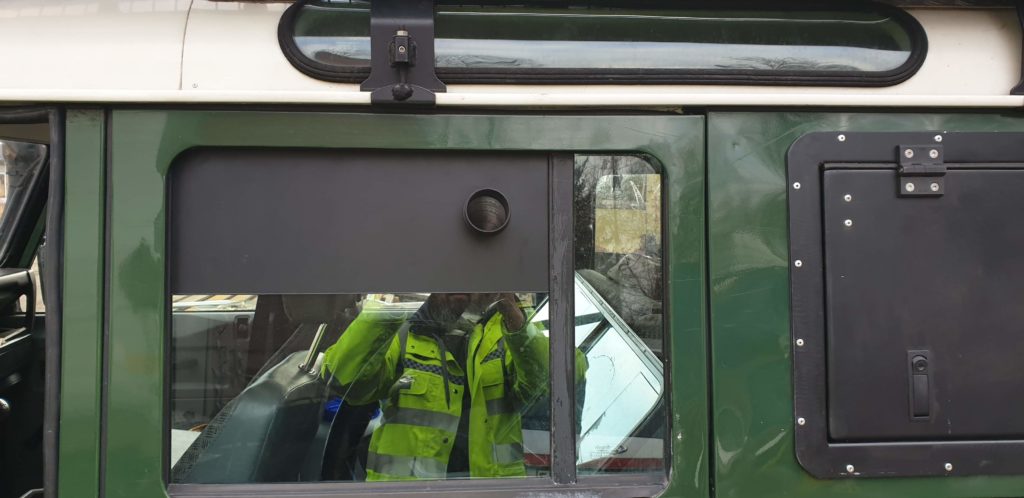
zaślepka na okno 
rura bezpośrednio do namiotu 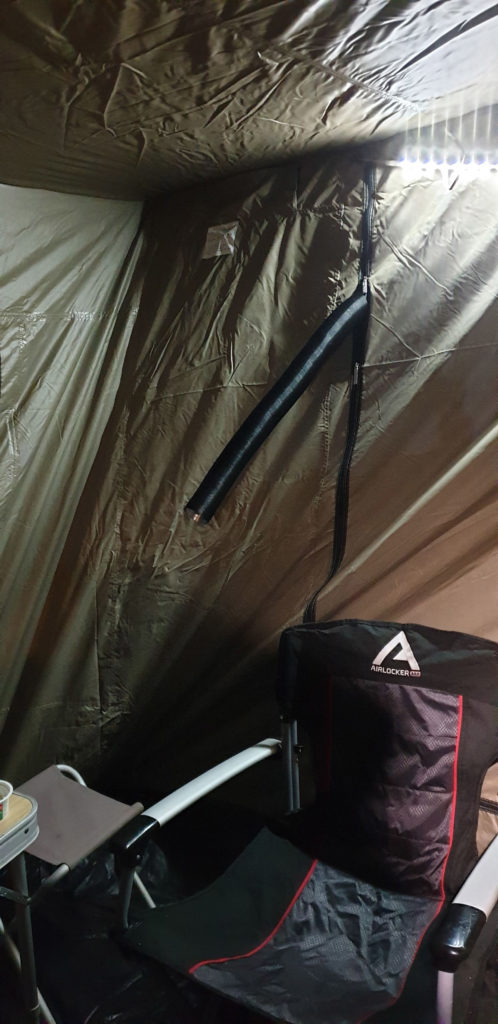
ogrzewanie namiotu pod markizą 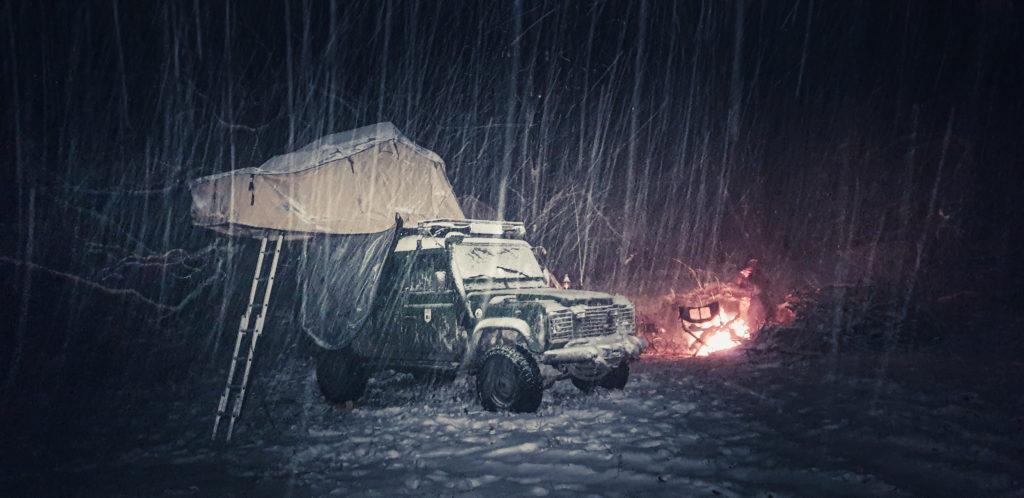
-17c 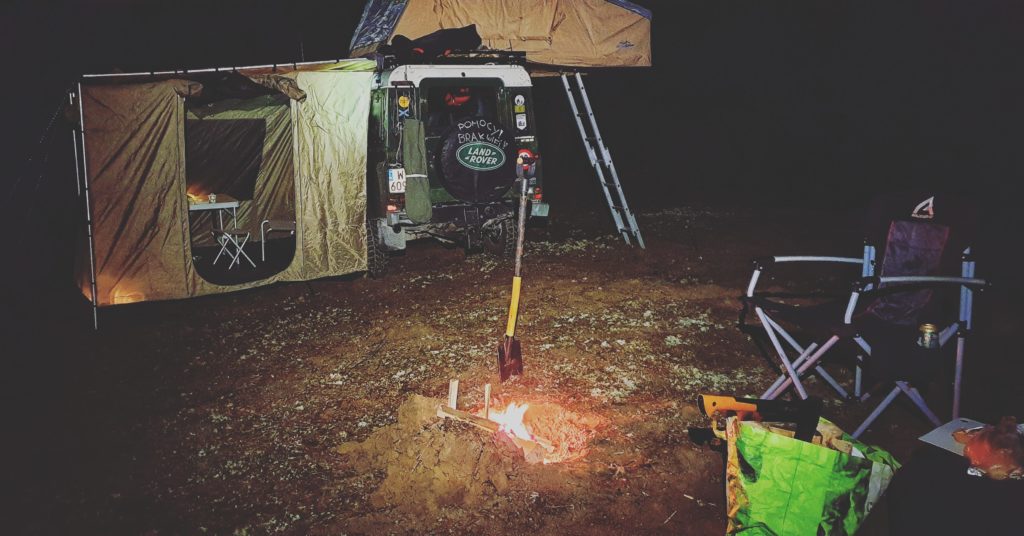
Jednoczesne ogrzewanie namiotu dachowego i pod markizą
- 3 sections of air pipe, fi60mm.
- 1x air tee.
- 2x adjustable outlet, closed, fi60mm.
- 1x window plug
- 1x 60mm pipe connector.
- 6x 60mm spigot

On each side of the tent, I introduce pipes with an adjustable outlet, I use a hole in the side wall of the tent, right next to the place where the floor is folded, and connect to the tee attached to the connector mounted in the window cap. Then I attach a pipe that is usually used to heat the interior on the inside
Airflow control.
In my car, the temperature sensor and controls are mounted on the dashboard. Of course, you can install the sensor with the regulator on a long cable, but after a few nights I was able to find the optimal settings, without having to go down the night to change the temperature.
Tips.
The pipe from the webasto to the window should be long enough so that the door still opens one hundred percent after installation.
Adjustable outlets may seem redundant, but in practice they are very useful for limiting the blowing force. Just remember not to close both, webasto security will automatically disable them then.
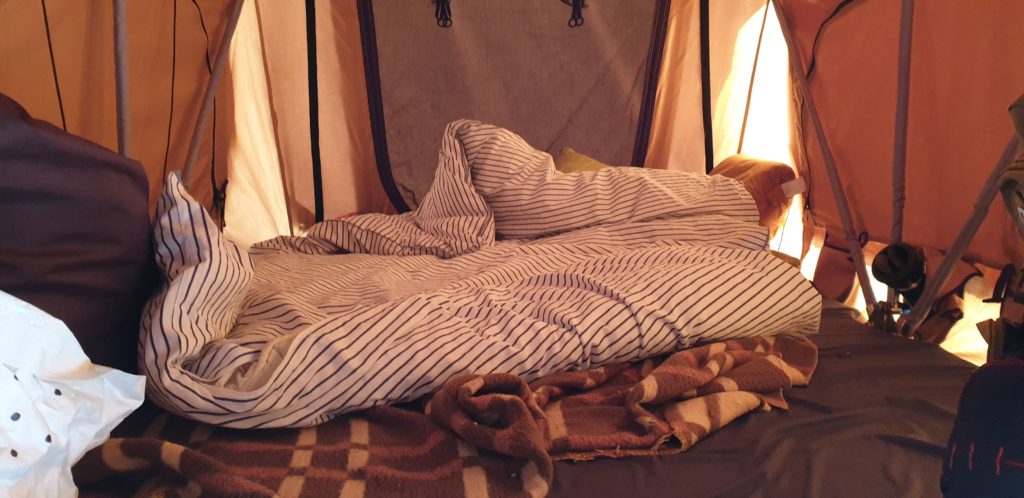
Instead of sleeping in a sleeping bag, it is better to sleep under the duvet and insert the pipe outlet under it, or open the sleeping bag only.
In severe frosts, it is a good idea to hide the pipes under the overhanging tent cover, the wind and temperature cool them down much less then.